Introduction
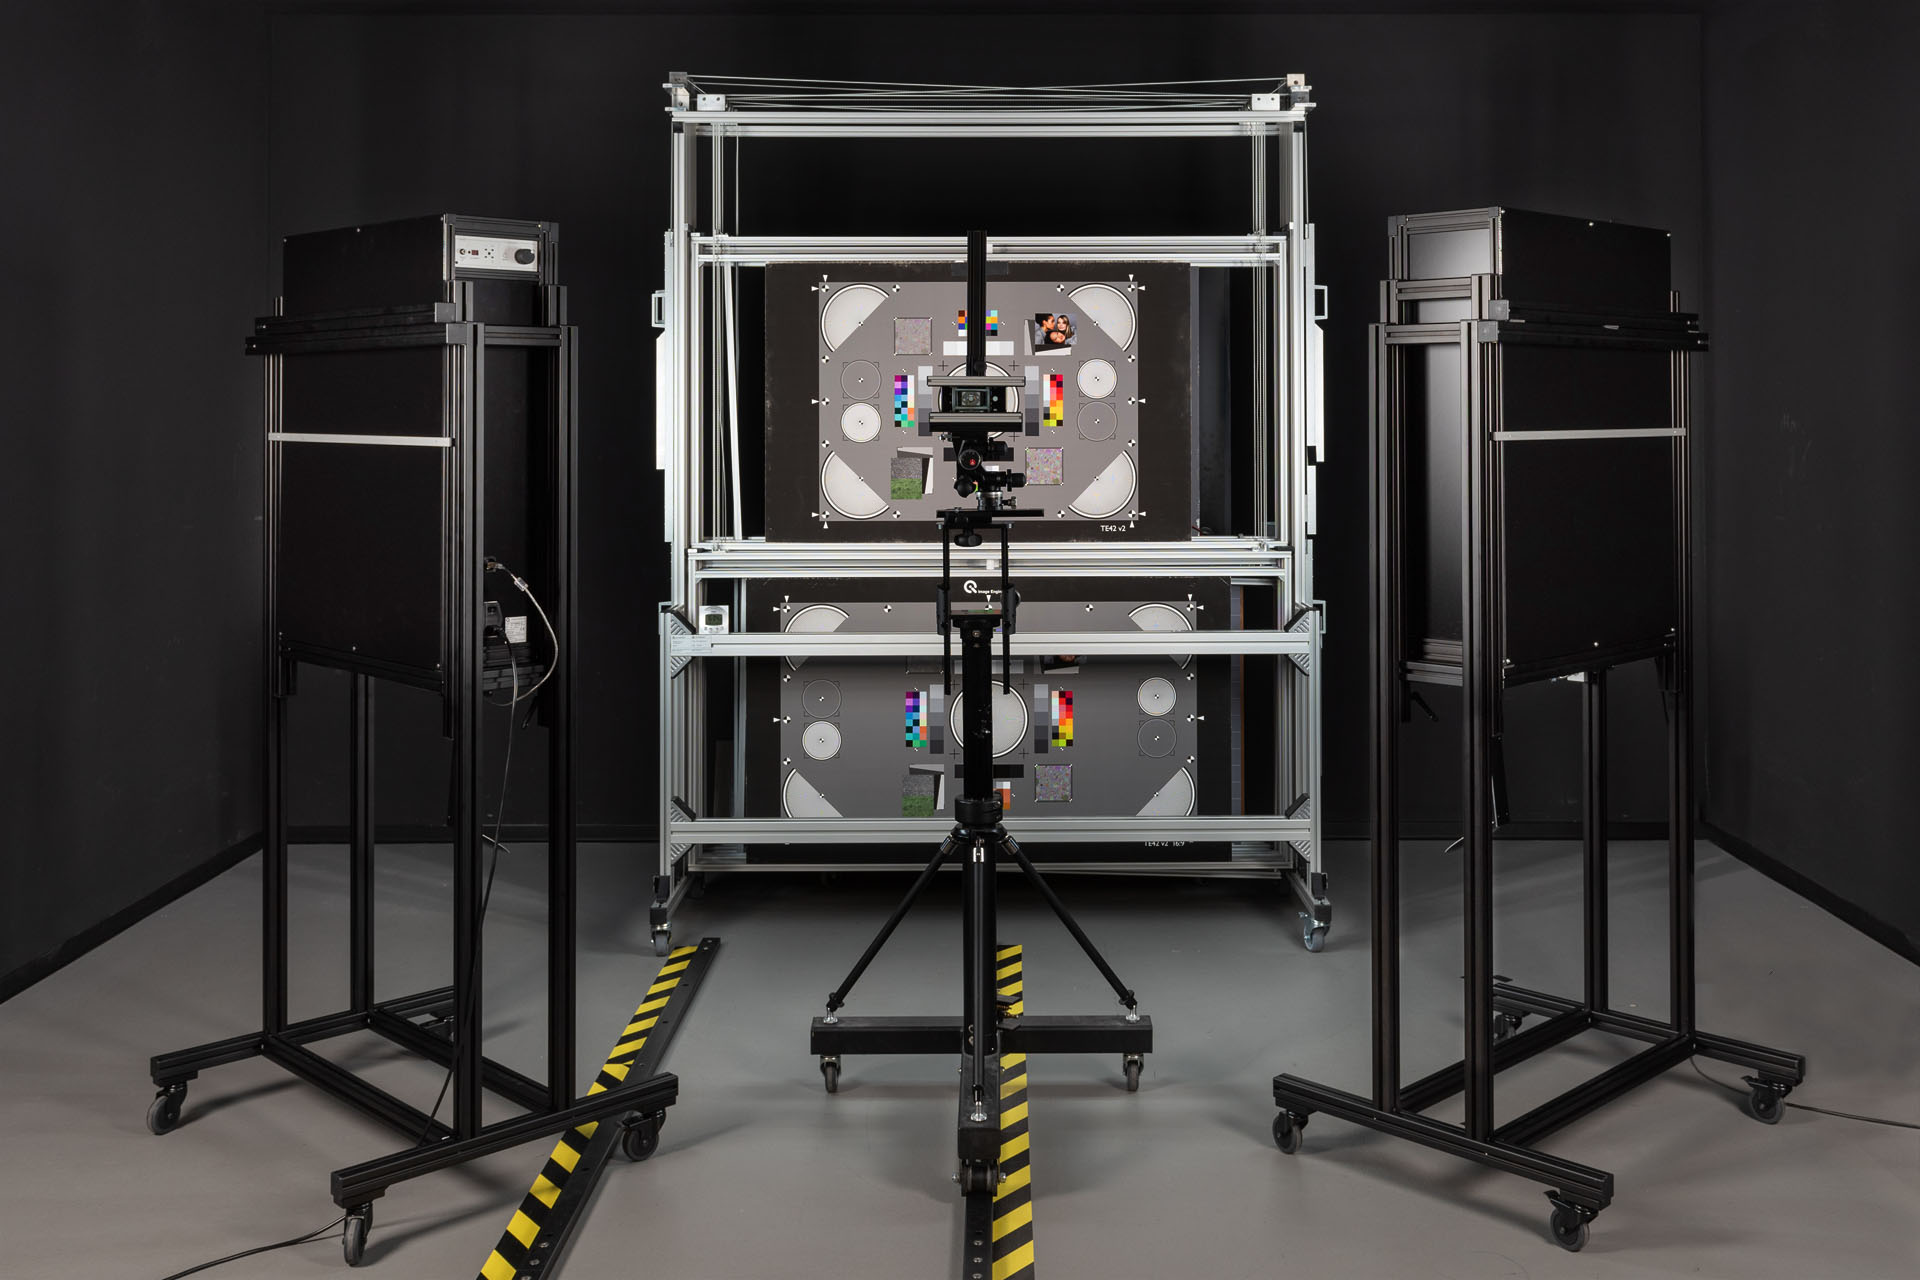
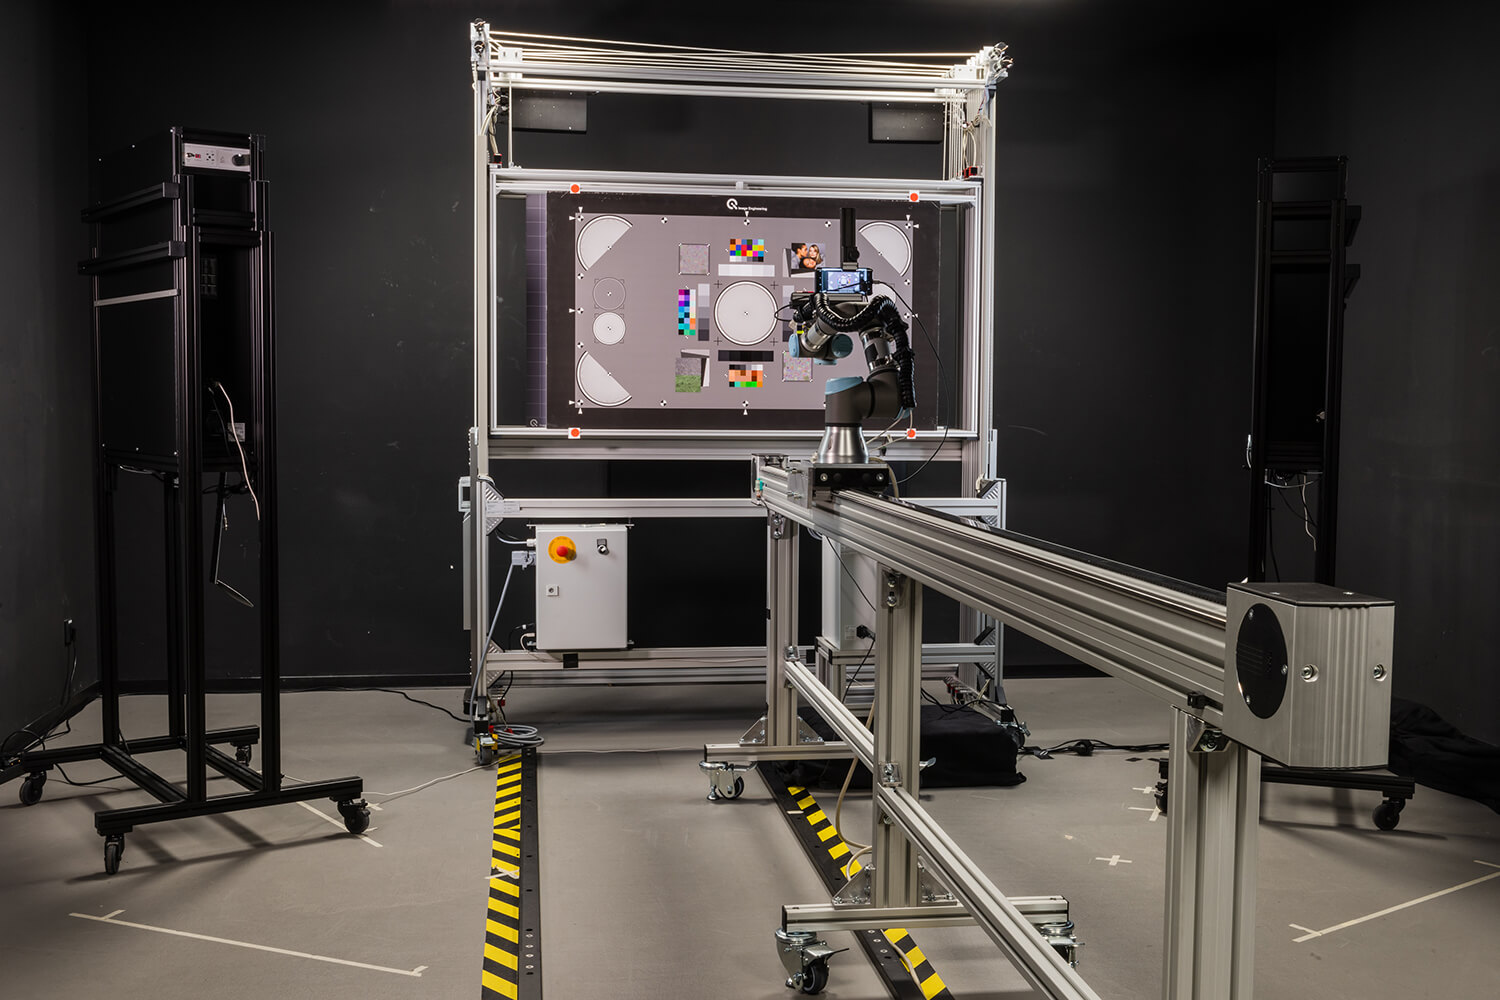
The following article contains checklists on the various room requirements and recommendations for building an image quality test lab from scratch.
We understand that no two labs are the same in terms of available room space. However, regardless of the actual room size, these requirements are crucial to optimizing your image quality testing.

Part 1: Room requirements
The first step of building a test lab from scratch is determining the type of testing you will be performing. Specific tests (e.g., telephoto lens) require more space than others (e.g., mobile phone cameras). Always keep a rough idea of how your testing may evolve in the future and whether you will need more space. Once you have the correct room, you can begin transforming it into a proper image quality test lab.
The most crucial aspect of an image quality test lab is avoiding stray light. Below is an example scenario of the importance of preventing stray light:
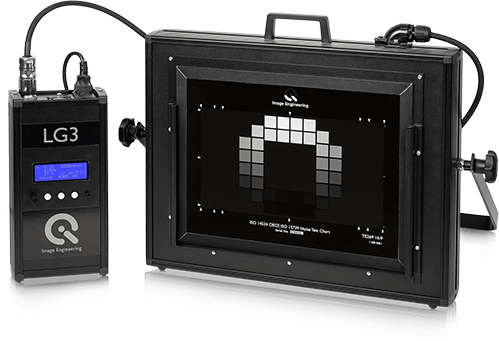
You are testing a camera using an LG3 and a TE269C test chart. The LG3 can produce up to 150,000 lx, and the TE269C features a contrast of 134 dB. So, if we assume the luminance of the brightest patch is 40,000 cd/m2, and the darkest patch has a luminance of less than 1/100 cd/m2, then the contrast between the brightest and darkest patch has been achieved, and we can successfully test the camera.
However, the problem that often arises with this calculation is the assumption that the light from the LG3 is the only light present during testing. Unfortunately, this is only true if you have successfully blocked all stray light from the setup. Due to the extremely bright light of the LG3 close to the chart's dark regions, the light may scatter around the room and reflect into the dark patches from walls, ceilings, fixtures, the camera, or the tester themselves. As a result, it is imperative to avoid reflections and ensure that all unwanted light is absorbed as quickly as possible.
Checklist for room requirements
- A dark room without windows to avoid stray light. If a room without windows is unavailable, you will have to completely cover the windows with a proper material such as non-flammable Molton fabric (other names for this fabric include Duvetyne, Duvetyn, or Roke).
- Walls, floors, and ceilings should be painted in a neutral dark color such as dark gray or black.
- Temperature control over the room, air-conditioning is required. Most ISO tests require a specific temperature between 21- and 23-degrees C.
- High ceilings depending on the equipment you are using (some of our test stands are over 2.5 meters high).
- Solid floors with no (or very limited) vibrations from outside elements such as close passing trains.
- A sufficient power supply for all of the light sources.
- Having enough proper covering (e.g., Molton non-flammable blankets) to completely cover any reflective material in the room, including windows, doorway exit signs, walls and ceilings (that cannot be painted), etc.
- If you will be separating the test room into multiple sections to perform different tests simultaneously, we recommend installing the Molton covers as curtains that can separate the areas.
Part 2: Room recommendations
Outside of the room's requirements, we also highly recommend various test accessories that will help you fully optimize your testing. Every accessory listed below we use daily in our lab.
Checklist for accessory recommendations
- Rail system for mounting tripod (ensures that the tripod is always in the same position when testing). Ex: iQ-Teststand
- Chart holders either motorized or manual for quickly changing charts. Ex. iQ-Chartmount-V
- Lux meter for determining the accuracy of the luminance during testing. Ex. Krochmann Radiolux 111
- Analysis software for analyzing test results. Ex. iQ-Analyzer

Part 3: The role of automation in a test lab
Automation, while not always required, is still worth considering when building a new test lab due to the many benefits, including:
- Improved overall accuracy and consistency of repeated measurements - many automated setups require no human interaction after the initial setup, significantly improving testing accuracy.
- Improved overall productivity – quicker overall measurements and fewer “do-over” tests.
- Reducing the number of times a human must handle the equipment – the chances for damage or misalignment increases each time a human physically operates the equipment.
- Reducing human interaction in the measurement process – automating the measurement process prevents frequent changes to the established measuring specifications.
Checklist for the parts of the lab that can be automated
- Light sources - iQ-LED-based light sources allow you to generate custom spectra and control the intensity. Ex. iQ-Flatlight
- Chart handling – motorized chart mounts can automatically change the charts during testing. Ex. iQ-Chartmount-VM
- Camera distance – a motorized rail system can automate the camera distancing to the chart using specifically designed API software. Ex. iQ-Teststand
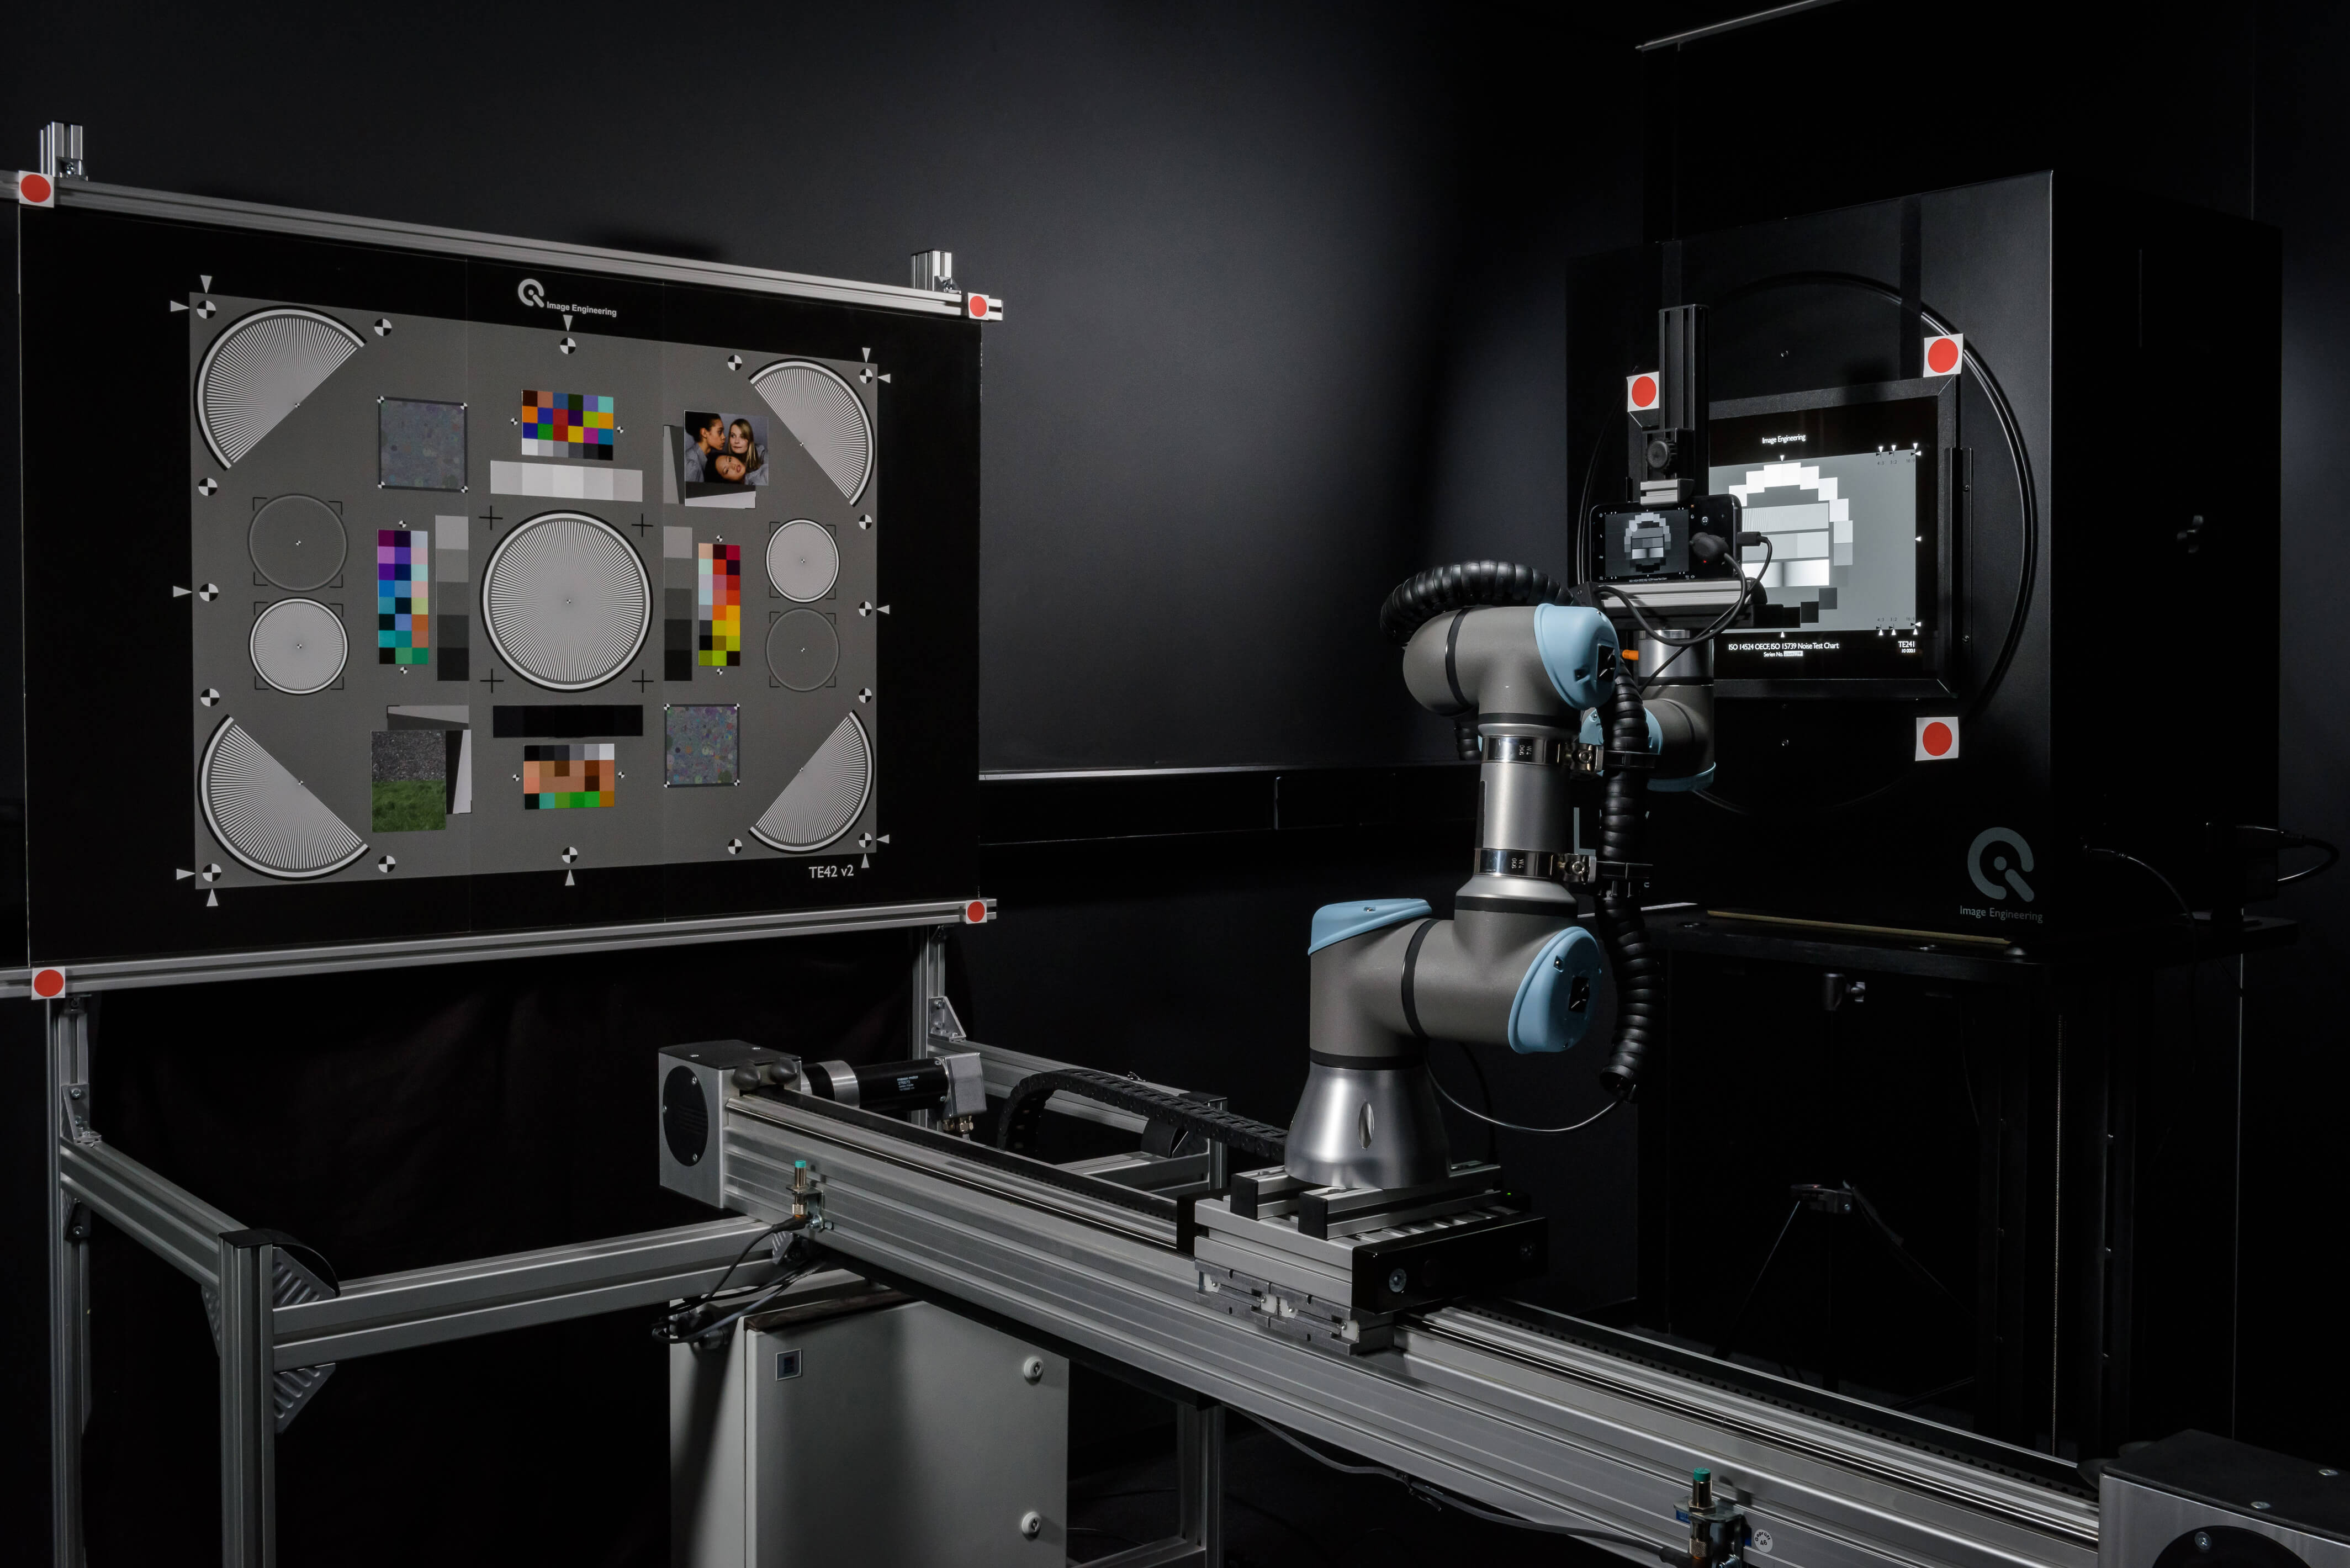
- Camera positioning – use a robot arm and accompanying software to automatically and repeatably align your cameras to the correct testing position. Ex. iQ-Automator

Conclusion
To summarize, it is vitally important to ensure you have a proper lab setup when testing a camera system's image quality. The checklists above provide an overview of what to consider when designing an image quality test lab from scratch.
If you have further inquiries or have unique requirements, please contact us for consultation at .


